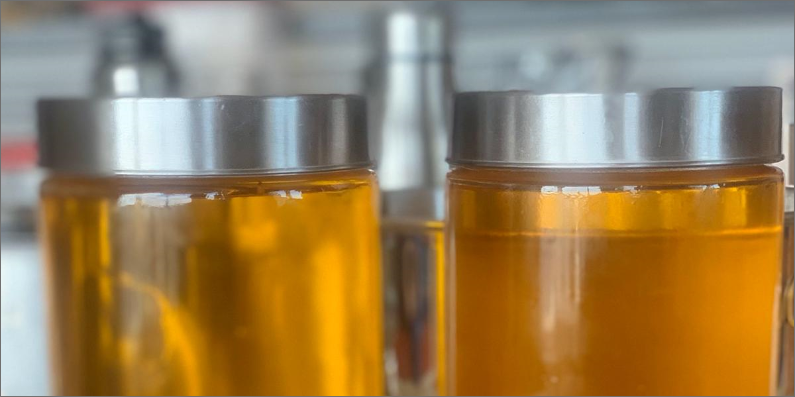
Ayurvedic Ghee = Liquid Gold?
Gold is one of the purest and rarest elements on earth. It’s unique physical and chemical characteristics make it very valuable.
Similarly Ayurvedic ghee is extremely pure and rare to find, especially in this day and age. The unique qualities of this ghee make it very beneficial. A few of the benefits listed in Bhavaprakash, one of the great textbooks of Ayurveda are:
● a great rejuvenator for the eyes
● enhances digestive fire by cooling & alkalizing
● binds toxins and pacifies pitta and vata
● with proper combining and processing, it is not clogging or Kapha aggravating
● enhances complexion and glow of the face and body
● increases physical and mental stamina
● supports learning, retention and recall
● increases longevity
● cools and lubricates the stomach wall
● nurtures and cleanses the blood tissue
With so many benefits of ghee, it is totally worth making your own pure, Ayurvedic ghee. Whenever I make my ghee, I feel very blissful, satisfied and nurtured. Involving your kids in the process is truly rewarding too. They will love seeing the transformation of cream into butter and buttermilk, and will enjoy making butter balls too.
Let’s go through the process step-by-step:
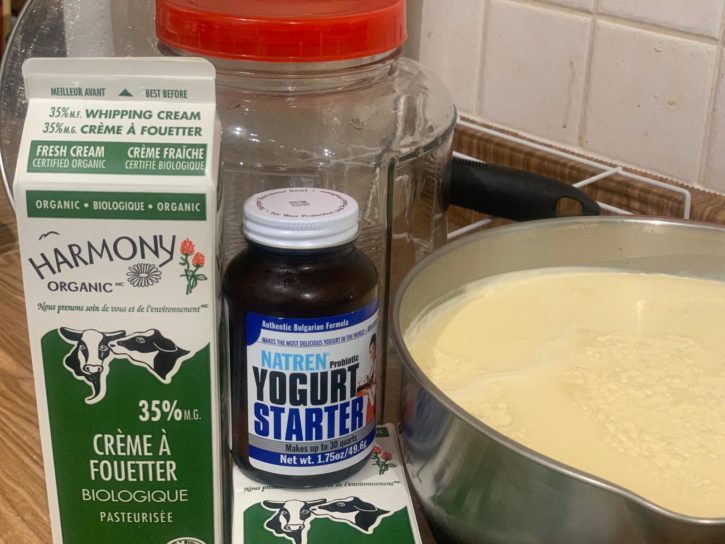
Step 1: Culturing the cream
● Heat 4 litres organic heavy whipping cream slowly over a low flame to 180F. Do not boil. Cool the cream down to 108-112F.
● Yogurt starter mixture: Mix 1/2 cup of the cream above, with 2 teaspoons of yogurt culture or 1 cup of yogurt with live cultures.
● Add this yogurt starter mixture into the remaining warm cream. Stir it thoroughly. You can pour the cream from one pot to another, a couple of times to ensure the yogurt starter mixture has mixed well.
● Cover the pot with a lid and incubate for 7-8 hours. You can wrap the pot with a clean towel and keep it in a warm place. Alternatively you can place the pot in the oven and switch on the oven light for warmth.
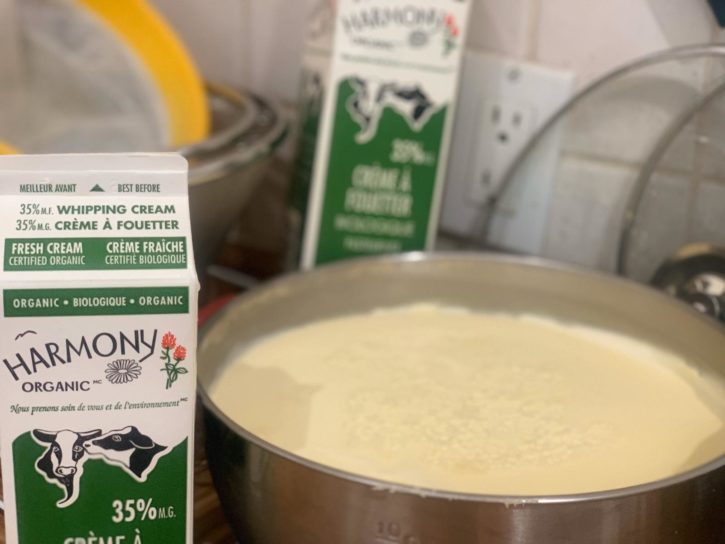
Step 2: Refrigerating the cultured cream
● Once the cultured cream is ready, refrigerate it and chill completely.
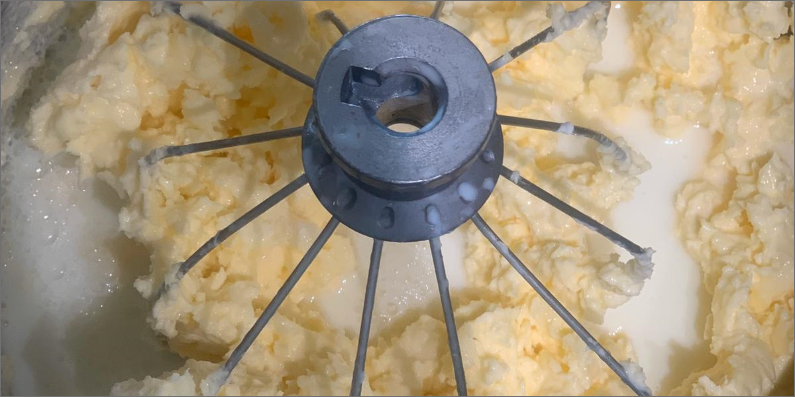
Step 3: Churning the cream
● Churn the chilled cultured cream in a stand mixer or a food processor until the butter and buttermilk separate distinctly.
● Remember to fill the container with cultured cream up to half the capacity of the appliance only, to avoid spills.
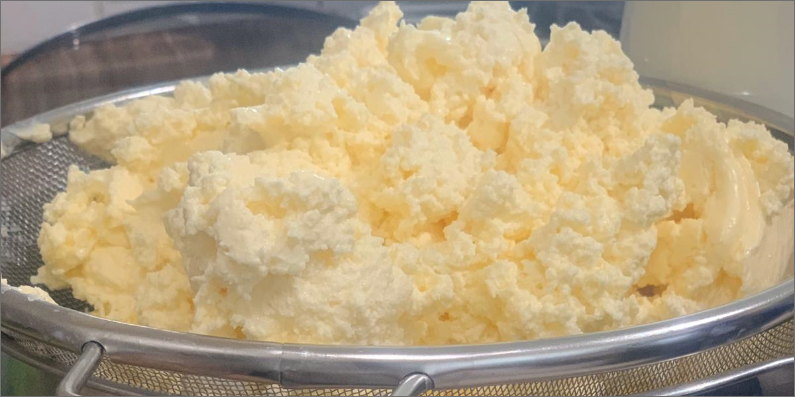
Step 4: Separating the butter
● Transfer the butter in a sieve over a mixing bowl.
● Press the butter gently to squeeze out the buttermilk.
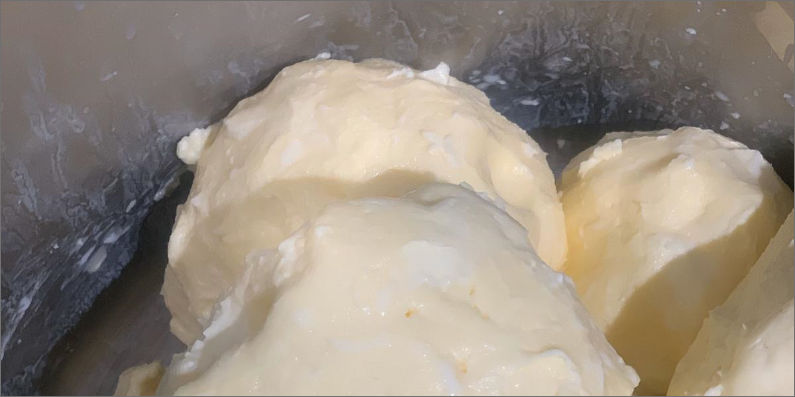
Step 5: Heating butter to make ghee
● Make butter balls to squeeze buttermilk out as much as possible (if buttermilk content is higher in the butter, it usually takes much longer for making ghee)
● Add all the butter into a pot and heat on a slow flame.
● Keep stirring occasionally.
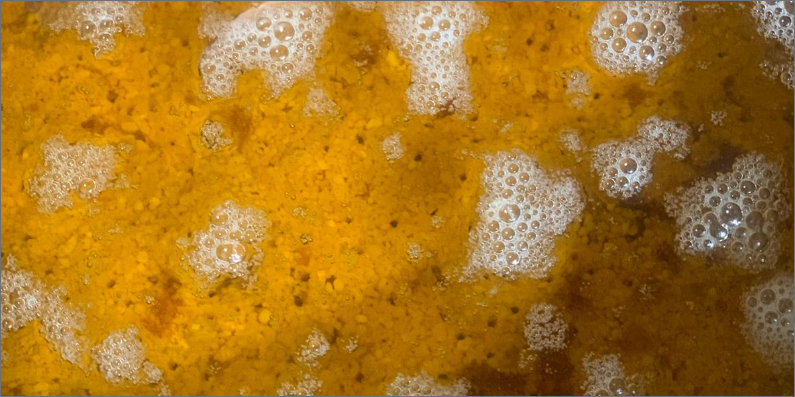
Step 6: Ghee
Ayurvedic ghee is ready when you can see:
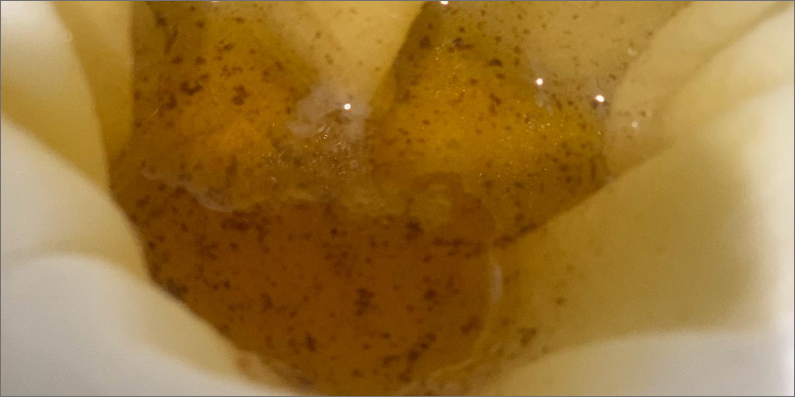
● the liquid is clear and yellow-golden.
● the milk solids clearly at the bottom of the pan, and they are evenly browned (light caramel color).
Switch off the stove and cool for a bit.
Step 7: Strain the ghee
● Strain the ghee using a cheesecloth into a clean and dry container. Put the lid only after the ghee cools down.
